A stunning exterior paint job can transform your home’s curb appealand protect your investment for years to come. However, what separates a professional-quality finish from a disappointing DIY disaster isn’t just the paint itself, it’s the preparation work that happens before the first brush stroke.
Skipping or rushing the prep work is one of the most costly mistakes homeowners make. Poor preparation leads to uneven coverage, premature peeling, color inconsistencies, and a paint job that may fail within months instead of lasting for years. The reality is simple: the more thorough your preparation, the better your results will be.
Let’s walk through the complete process of preparing your home for anexterior paint joband address the most common questions homeowners have about this crucial phase.
Step-by-Step Exterior Paint Preparation Process

Step 1: Thorough Surface Cleaning
Your home’s exterior faces constant exposure to Arizona’s harsh elements—dust storms, monsoons, intense UV rays, and temperature fluctuations. Over time, these conditions cause dirt, grime, mold, mildew, and chalky paint residue to accumulate on surfaces. Painting over these contaminants creates a weak foundation that will compromise your entire paint job.
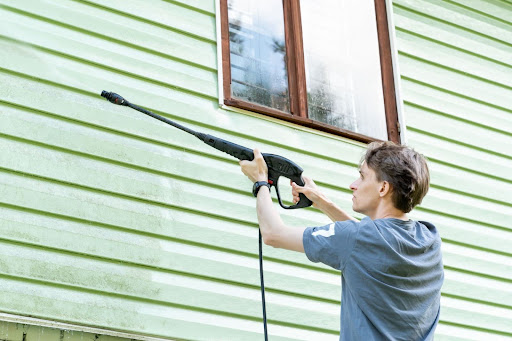
Pressure Washing Best Practices:
- Use a pressure washer with 1,500-2,500 PSI for most surfaces
- Maintain a 12-18 inch distance from the surface to avoid damage
- Work from top to bottom to prevent streaking
- Allow 24-48 hours for complete drying before proceeding
Hand Scrubbing for Problem Areas:
- Mix one part bleach with three parts water for mold and mildew
- Use a stiff-bristled brush for textured surfaces like stucco
- Pay special attention to north-facing walls and shaded areas where moisture lingers
Step 2: Comprehensive Damage Assessment and Repair
A detailed inspection of your home’s exterior is critical before any paint application. In Phoenix’s climate, common issues include wood rot from monsoon moisture, cracks from thermal expansion, and UV damage to existing finishes.
Essential Repairs Include:
Crack and Hole Repair:
- Use high-quality exterior-grade caulk for gaps around windows, doors, and trim
- Apply wood filler or exterior putty for holes in wood surfaces
- Fill hairline cracks in stucco with elastomeric caulk that can flex with temperature changes
Wood and Siding Replacement:
- Replace any rotting, warped, or severely damaged wood immediately
- Check areas around gutters, downspouts, and roof lines for water damage
- Ensure new materials match existing textures and profiles
Surface Preparation:
- Sand glossy or rough surfaces to create proper adhesion
- Use 80-120 grit sandpaper for most exterior surfaces
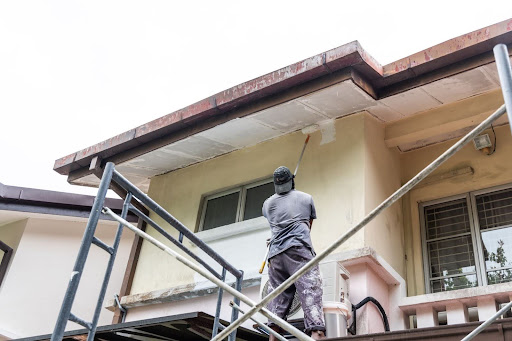
- Remove loose or peeling paint with scrapers and sanders
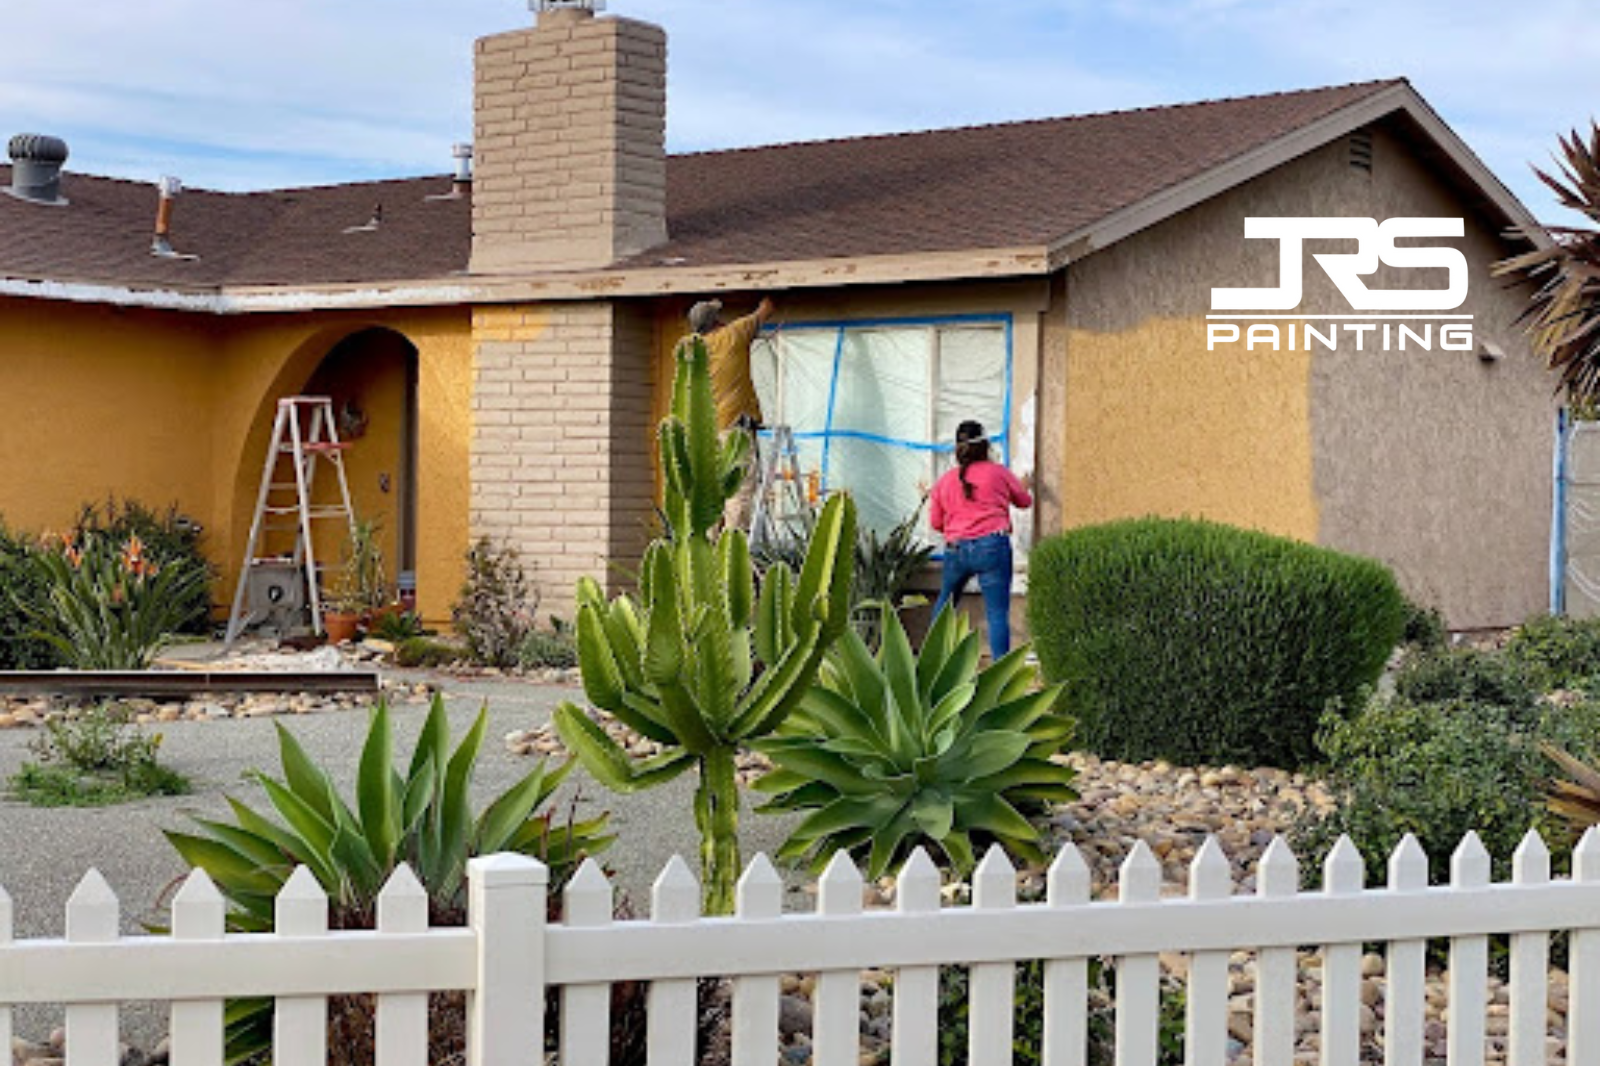
Step 3: Strategic Protection and Masking
Professional masking protects your investment and ensures clean, crisp paint lines. This step often separates amateur results from professional-quality finishes.
Window and Door Protection:
- Use high-quality painter’s tape designed for exterior use
- Apply plastic sheeting or masking film to glass surfaces
- Remove tape while paint is still slightly tacky to prevent peeling
Landscaping and Property Protection:
- Cover plants, outdoor furniture, and hardscaping with canvas drop cloths
- Use plastic sheeting only for short-term protection (it can kill plants if left too long)
- Create walkways to protect lawns and garden areas
Fixture Preparation:
- Remove or carefully mask light fixtures, address numbers, and hardware
- Cover electrical outlets and switches with appropriate covers
- Document the location of removed items with photos for easy reinstallation
Step 4: Strategic Priming for Long-Term Success
Priming isn’t always necessary, but when it is required, it’s absolutely critical for paint longevity and performance. In Arizona’s extreme climate, proper priming can add years to your paint job’s lifespan.
When Priming is Essential:
- Bare wood, metal, or masonry surfaces
- Dramatic color changes (especially light to dark or vice versa)
- Previously unpainted surfaces like new stucco or drywall
- Areas where existing paint is chalky or deteriorated
- Surfaces with water stains or other discoloration
Primer Selection for Arizona Climate:
- Use high-build primers for heavily textured surfaces like stucco
- Choose alkyd primers for excellent adhesion on challenging surfaces
- Select primers with mildew resistance for areas prone to moisture
Advanced Preparation Tips for Arizona Homes

Climate-Specific Considerations
For the best results, schedule exterior painting between October and April when temperatures are mild and humidity is manageable. Avoid summer heat, as surface temperatures over 100°F make paint fail quickly. Aim for three to five straight days of good weather to prevent interruptions. Choose materials built for the desert—UV-resistant paints, fade protection, and elastomeric coatings for stucco that flex with temperature changes.
Surface Preparation Techniques
- Stucco:Clean efflorescence with stucco cleaners, use elastomeric primers to seal small cracks, and match textures on patched areas for consistency.
- Metal:Remove rust completely with brushes or rust removers, then use rust-inhibiting primers made for each type of metal.
- Wood:Inspect for insect damage, treat if needed, stabilize weathered wood, and use oil-based primers for stronger adhesion and UV protection.
Final Preparation Verification
Before painting, confirm that all surfaces are cleaned, repaired, sanded, and ready for proper adhesion. Remove all loose or peeling paint and ensure repairs are fully cured.
Check that protection is in place. Check the windows, doors, and fixtures masked, landscaping and furniture covered, and drop cloths laid out. Utilities and irrigation systems should also be shielded.
Lastly, verify materials and conditions. Apply primer where needed, confirm good weather for the full project timeline, ensure all supplies are on-site and quality-checked, and align the schedule with everyone involved.
Final Preparation Checklist
Before painting begins, ensure you’ve completed these critical steps:
Surface Preparation Complete:
- All surfaces thoroughly cleaned and dried
- Repairs completed and cured properly
- Loose or peeling paint removed
- Surfaces sanded smooth where necessary
Protection Systems in Place:
- Windows, doors, and fixtures properly masked
- Landscaping and outdoor furniture protected
- Drop cloths and protective coverings installed
- Utilities and irrigation systems covered
Materials and Conditions Verified:
- Primer applied where necessary and fully cured
- Weather forecast confirms suitable painting conditions
- All materials on-site and quality-checked
- Project timeline confirmed with all stakeholders
The Foundation of Lasting Beauty
Proper exterior paint preparation is an investment in your home’s future that pays dividends for years to come. While the process requires time, attention to detail, and often professional expertise, the results speak for themselves: a beautiful, durable finish that protects your home and enhances your property value.
The difference between a paint job that lasts 3-5 years and one that looks great for 10-15 years often comes down to the quality of preparation work. Whether you tackle the project yourself or hire professionals, never compromise on this crucial foundation step that determines everything that follows.
For a flawless finish that stands the test of time in Arizona’s challenging climate, trustJr’s Paintingto handle every step of the preparation and painting process with the expertise and attention to detail your home deserves.
Frequently Asked Questions
Build a Strong Foundation for Lasting Paint
Great exterior paint starts long before the first brush stroke. Proper cleaning, repairs, and priming ensure your home’s finish lasts for years instead of peeling within months. Don’t risk cutting corners—let the experts at Jr’s Painting handle the prep and painting with proven techniques built for Arizona homes. Contact us today for a free estimate and lasting results.


